1984 Hunter 22

22 foot sailboat on the hard

The story so far...

They say the best things in life are free. Well sometimes they are, at least until about 5 minutes after you get them home. I saw this boat on Craigslist and initially was not all that interested in it. A Hunter, that had been sunk in Back River, MD. A place known for the non-potable nature of its water. Back River after all, is best known for the pungent fragrance which emanates from the sewage treatment plant at its head. Fortunately, this little guy was located quite a bit down stream. Anyhow, I went to see the boat. It was filthy (folks don’t tend to clean that which they are simply giving away), all the winches were not functional, the lines were filled with mud, let’s face it, the whole boat was filled with mud, and there were a lot of cracks in the deck, but at least it was not soft. So then I got to go inside. I tell the guy: “Wow, this is way worse than I thought. So when can I come pick it up?” Now back river runs kind of east-west, and there was a strong westerly wind blowing, so the river was super low, the boat was not sunk, but on the bottom by the next day. After about a week, the wind subsided, the river rose, and the P.O. was able to run the boat across the river where I, with the assistance of a commercial boat transporter, was able to retrieve it and get it back to the house. After a somewhat white-knuckle transaction at the Natural resources department, the boat was officially mine, so now the real spending could begin.

So, How do you get a free boat?

Old boat in water

     Some of you may be wondering; “How can I get a free boat?” This boat had been listed for sale initially. Its owner had been away, and when he returned home, he saw that the boat had sunk at the dock. He raised it and then listed the boat for free. Although I’d seen the listing early on, I hesitated to go and see it, because of the location, and , frankly, the make. Some time went by, and realizing that there were not a lot of options, and that I can fix most things. I went, saw it, and ultimately retrieved the boat. After raising the vessel, some water was still coming in. This was going to require some detective work. 

     Once I got the boat home, removing the several inches of the water in the bilge was a top priority. Now, getting water out of a boat is usually fairly easy, you just need a pump or a shop-vac, or to run the bilge pump if so equipped…(it wasn’t) Keeping the water out, on the other hand can be a bit more vexing of an issue. The hull of this boat is solid. Sure, there are the usual stress cracks, typical to these boats, but no issues there. So the question became, why was his boat taking on water at the dock. Now, there are some slight hardware leaks – water coming in during rain through places where the sealant had failed over the years. (more on this later) On the mid 80’s H22s, the one place you really want to be sure is properly sealed is the bolts that secure the swing keel. Water can come in rather quickly if these bolts are not properly sealed. This project will be covered in much detail later, when I do the keel service.


Sailboat on blocks needs cleaning

     Once the boat had been with me for a couple of weeks, and after some rain, it had started taking on water fairly quickly. This obviously eliminated the keel bolts as the main source of the problem. I attempted to get a look at the hoses coming from the cockpit drains, as they were in the same area as the apparent source of the water. It’s a tight fit back there, and was a bit difficult to visualize initially but I did finally determine that these hoses were the source of the problem.

old drain hoses

How to access the cockpit drain on early Hunter 22s

Since the aft area on these boats is quite a tight space, the first question is not so much “how do I fix the drain Hose on a Hunter 22?”, as it is,”How do I fit into the area beneath the cockpit on a Hunter 22?”. Well, I’ll tell you. The first question is how to access the area, because if you weigh much over 130, you wont likely fit from the starboard side. Now that would seem the obvious side because there is no covering between that space and the cabin. There is however, a significant obstacle in the shape of the fuel tank locker. So the answer is to remove the bulkhead to the lazarette, on the port side. There’s no adhesive keeping it in place, just a handful of screws. The original bulkhead is made of plywood, and this one was toast, likely due to its visit to the bottom … 

Old bulkhead

     While I had the bulkhead out, I figured that it was time to replace it, with a new one made from Starboard. On a smaller boat especially, Starboard is an ideal material, since it cannot absorb water the way that natural wood, especially plywood can.

New Bulkhead

Replacing the drain hoses

     At this point, I was ready to address the problem with the hoses. If you’ve ever worked with sanitary hoses on a boat head, or other drains, you might already know how to remove and install sanitary hose on your boat. These hoses are very tough – they need to be, and at room temperature, can be very difficult if not impossible to work with. In order to work with them, removal or installation, you’ll want to use a heat gun. On the low setting, just move the gun around the hose evenly at the connection, never stopping in one place. You must take care not to melt it, just soften it slightly so that it becomes pliable enough to work with. Done this way, removal of the old hoses is fairly easy. On issue I had with the old hoses was the extra length. Now originally, I believe this was done to keep water from splashing back up into the cockpit, but the water will go out as fast as it can come in this way. Shortening the hose allows for swifter draining from the cockpit, whenever water decides to wash over the side. To do this modification, I found it best to mock up the center (lower) hose in place with the fittings and cut the 2 upper hoses to fit. Also keep in mind to place hose clamps before connecting hoses.Always use double clamps, I prefer the dual wall clamps that do not cut into the hose for maximum life of the hoses.

new drain hoses

     Upon completion of this project, I examined the old hoses and found two substantial leaks. It has been some time now since this was done, with many instances of rain, and it is apparent that this resolved better than 95% of water ingress into the cabin. Any remaining leakage comes from hardware that needs to be re-bedded. Before, whenever it would rain, almost as much water would enter the bilge through the failed hoses as would leave out the drain as intended. The loop design in the old hoses held water, which likely froze in winter and destroyed the hoses, causing this problem. The previous owner winters in Florida, and discovered the boat sunk when he returned in the spring. So as it turns out – less is more. The extra length of the hoses as the boat came to me held water, froze in winter, and began to leak. By minimizing the hose length, water has no place to collect, ice cannot form, and the water is directed out the drain as it should be.

Restoring the outboard bracket

worn outboard bracket

The original outboard bracket had seen a lot of use, and the wood and plastic parts had seen better days. Since the majority of the construction is stainless, the metal parts just required polishing. Then a new plate was made, using a single piece of sapele mahogany…

This piece was finished with several coats of Watco teak oil, followed by around 10 coats of spar varnish. Up to this point, I’ve been using Varethane which does sand to a nice finish, but it takes forever to dry between coats. I’ll be looking into the offerings from Total Boat in the spring. I believe they offer a more user friendly product. Many of the new varnishes dry more quickly, and do not need sanding after every coat. To get a good final finish on brushed varnish, even those which are self-leveling, you will need to wet sand. For a satin finish, I would take it to about 800 grit. Buy the varnish for the finish that you want. In other words, don’t try and polish satin finish varnish. It won’t look glossy.

Mostly restored outboard bracket

After installing the plate with new stainless hardware (the old stuff was a hodgepodge of galvanized bits and pieces), it was time to make a new bushing for the action spring.

parts on workbench

As you can see, the original bushing was split. This likely happened due to a combination of age, and expansion / contraction of the inner metal bushing over time. I spent a couple of days trying to find a similar part, but to no avail. The slug of 316 which I ultimately purchased  cost around $12, it worked perfectly after a bit of a spin on the lathe…

Material on lathe

Once turned and polished, I wound up with a replacement which is far better than the original. It takes a bit of time to produce a part like this,accurate dimensions are a must. Now, you do end up with metal on metal, however, this is a low-speed assembly with occasional use, everything is smooth, so it will work perfectly.

Finished bushing on bench

So here is the fully refurbished outboard bracket…

Restored outboard bracket complete

Winches and more winches...

My boat was originally shipped with Maxwell winches. In it’s original configuration, there are a total of 3 winches – two sheet winches and one on the cabin top for halyards.

Old winch

On all 3 of the Maxwell winches, the crowns were either badly cracked, or entirely broken. I had, at one point tracked replacements down to an outfitter from Australia, who wanted about $185 with delivery. I was concerned that given their age, and the tendency of plastic to become stiff and brittle over time that this would not be  a good spend, so I decided to see what else I could get. 

I had also decided that I will be adding a staysail at some point so I decided to get four winches, and deal with the halyard winches later…

Old Lewmar 16s and older Lewmar 16s

Old Lewmar 16
Old Lewmar 16
old Lewmar 16
old Lewmar 16

I was able to find these four winches on eBay at a reasonable price. Most were in reasonable shape, except for one that had some major wear internally due to lack of maintenance. I’m keeping an eye out for another one… These all seem to have been used in salt water and a couple were locked up.

How I refurbished Lewmar 16 winches...

Simply getting these winches turning would not suffice, as the chrome was flaking off. This is actually very dangerous, because the nickel underneath is extremely hard, resulting in razor sharp flakes of metal that you do not want to come in contact with, especially while underway.

Winchs external restoration progress

The first part of the process was removal of all of the old plating. I started out trying to use glass bead to resurface them, the worse ones were a lot less truble than the better ones. Glass bead, at it turn out does not remove nickle very well, and there is nickle under the chrome. So after spending hours in the blast cabinet, I put them on the lathe and spent hours more sanding the plating off, and then polishing all of the smooth surfaces. Fortunately, I was able to blast pretty much all of the plating off of the textured areas. Shown here are the first two winches ready for finishing.

Winches being repaired

Before you can start cleaning up your winches, you need to disassemble them. If you are going to need to remove them for a major overhaul, you will also need to disassemble them in order to access the bolts that hold them down. Removal/re-installation of the winches from the boat tends to be a two-person job. Disassembly is easy, there is a split ring surrounding the handle socket, which can be disengaged using a fine tip flat-blade screwdriver or a knife. One inexorable truth pervades every part in these winches – they will get away from you if you are not careful. So if you are fixing one while underway, try to do so in fair weather and stock spares. Pawls, springs and washers come in a set which you can still get. Lewmar is very good about not changing the design of many of these parts. Now I do have two different styles here, and the split rings are different. It is a good idea to measure them up, and then order spares. I got mine from McMaster-Carr.

If the winches are sticky, or worse – stuck, you will need to remove all of the moving parts at the least. The culprit is a combination of grit, and grease which has hardened up. Because of the age and severe state of disrepair, these winches all needed to be completely disassembled. They are fairly simple, but you might want to take pictures as you take them apart. Once you remove the split rings, nearly everything should slip right off, unless your bearings are that buggered up.

You will want to take some WD-40 and soak everything thoroughly, using it as a cleaner. You are trying to completely clean every surface. Carb cleaner might also work, but I don’t recommend it for any of the plastic parts. Naturally, if you have media blasted the bell of your winch because it looked like one of mine first did, you need to get every last speck of media out before you even think about refinishing them.

The main bearing carrier is what usually is what locks up when your winch is tight or not turning at all. Spray a bunch of wd-40 into the slots holding the needle bearings and rotate the bearings with your fingers, repeat until they turn effortlessly. Then spray them down again and stand the bearing assembly (s) on some paper towels. Let them sit a bit and see if any more dirt is coming off of them. You will need winch grease to repack the bearings and gears, and light oil for the pawls and springs. Once everything has been cleaned and reassembled you can reinstall the winches if you took them off, and then reassemble them.

Of course, In my case, I had to refinish them. I decided to do something a little different, giving some nice details to these winches, as that is something that I do on many parts of all of my projects.

Lewmar Winches complete

I gold-plated the winches and powder coated the textured areas. The powder coat I used is highly rated to protect against UV and salt exposure. The specks are from me handling the front one with sawdust…The gold may wear over time, but can easily get additional plating after a good exterior cleaning. I put the newer(larger) ones in the forward positions and the others in the aft position. I made winch plates from 1/4″ aluminum, same blue powder coat, and used the original teak, which I planed down under that. Here they are shown with their covers, which I made. I’ll cover sewing later in detail.

Covered winches in place

So what became of the Maxwell’s? I decided that since I’m going to have a staysail as well as a spinnaker, I might as well keep them. The crowns had since become unavailable, so I just took a chunk of aluminum I had laying around and made up three of my own. A slight modification to the bells, and I was able to press fit the new crowns. They should last quite a while…

Repaired Maxwell winch

The process for refurbishing the internals of these winches was similar to the Lewmars. Two differences – They disassemble with a large flat blade screwdriver, and I do not think you will find many parts for these. They were at first more stuck than the lewmars…I did fix them before going to the trouble to machine the new crowns.

A few small projects...

Gas tank locker
TP Holder new
Galley with old tops
Galley with new tops

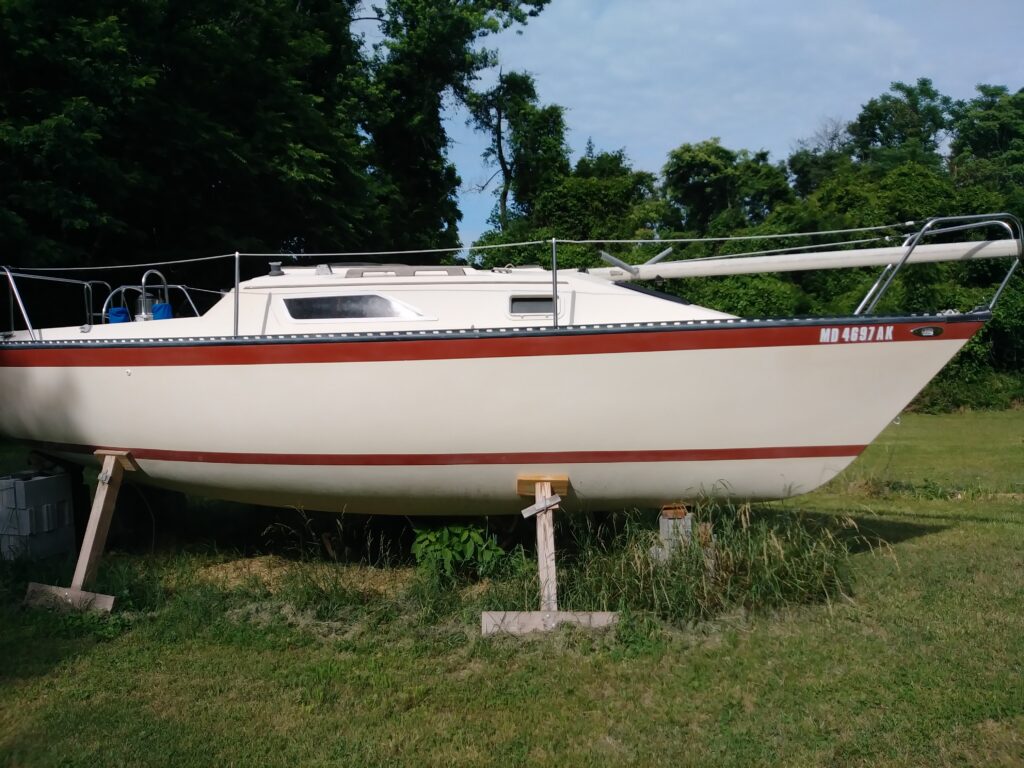
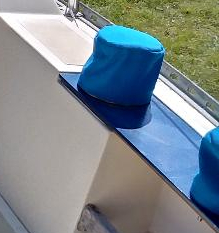
The P.O. had obviously used a steel gas tank, and set it right on the floor of the locker with no padding. This left some deep scratches in the gel coat. So, how do you remove deep scratches in gel coat? Well you want to start by giving it a good cleaning. You can be certain that most dirt in a boat is going to be abrasive, so you will want to clean anything you are going to polish.This is a time consuming process. If you can catch the scratch with your fingernail, it is a deep scratch. You are going to want to wet sand anything in gel coat that you are trying to restore. You want to use a soft block. There are a variety of soft blocks available, I do prefer, however, to reserve my more expensive blocks for paint, and for fiberglass, I simply get a sanding sponge from the home store, and wrap sandpaper around it. You dont want to use a block of wood for this because these surfaces are not flat, typically they are a bit convex. If you just sand by hand, you will end up with a very uneven surface. Using the sponge as a backer, you can spread out the contact area, making for a much nicer end result.

Starting with 600 grit, you want to sand just until if all of the deep scratches are gone. If the scratch is all of the way through the gel coat, then you will want to fill it. I will detail that process later on. Remember, you are not really sanding the scratch – you are sanding the area around the scratch until it is as low as the scratch, so work carefully and take your time. The initial sanding is the lengthiest part of the process. Once this is done, you will wit sand through each of the following grits – 800#, 1000#, 1500#, 2000#. Now you can polish the gel coat using any of a number of polish products. Follow that up with a wax, and you are ready to reassemble whatever it is that you are working on.

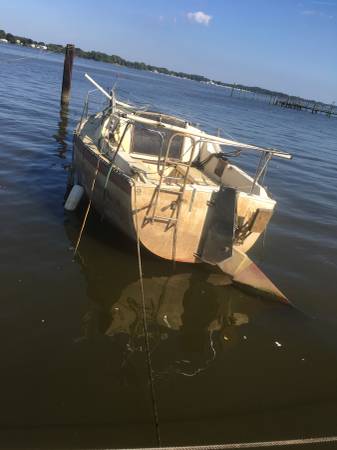
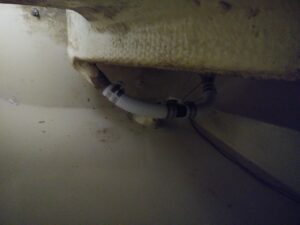
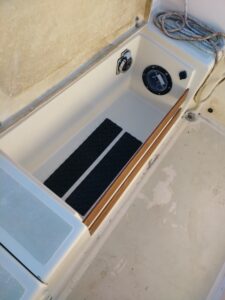
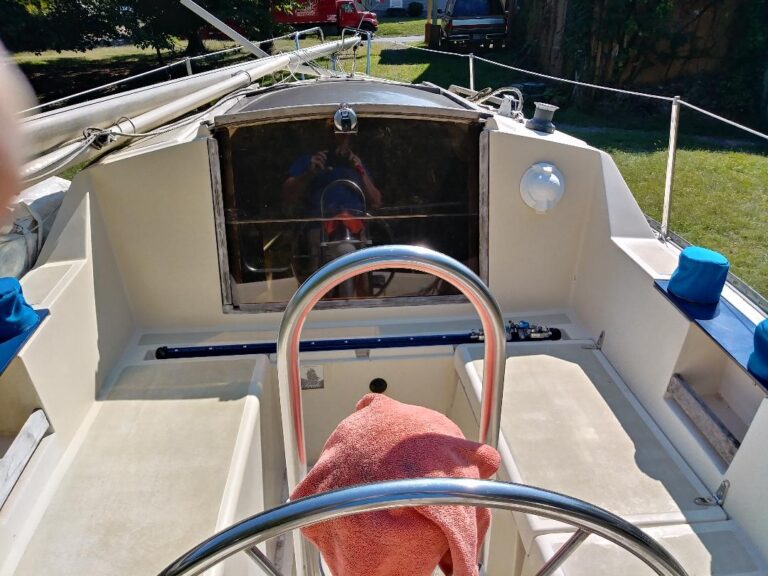
In addition to fixing that area, I installed a new cable access for the outboard. The old one had no plate, and we have lots of squirrels, so I installed a new port, complete with a plate. I put down some non skid pads, and installed a shore power inlet, and a charge port for electronics. I’ll be using an un-vented tank, so the electrical connections there should not present an issue.Also, keep in mind that power will be disconnected prior to operating the engine.

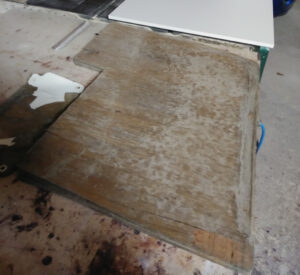
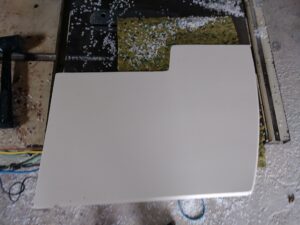
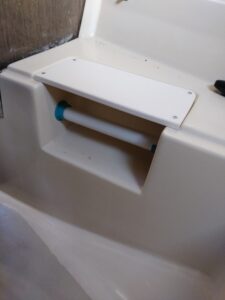
In addition to that area, I replaced the wooden elements in the toilet paper holder for the head with plastic. The old wood had take  on a lot of water, this is just one of many details that help to improve on the original. The galley covers had been submerged as well, and being plywood with a non-skid top, they had de-laminated. I replaced them with Starboard AS, which is Starboard with a non-skid surface. Not terribly easy to clean, but it will outlast the boat.

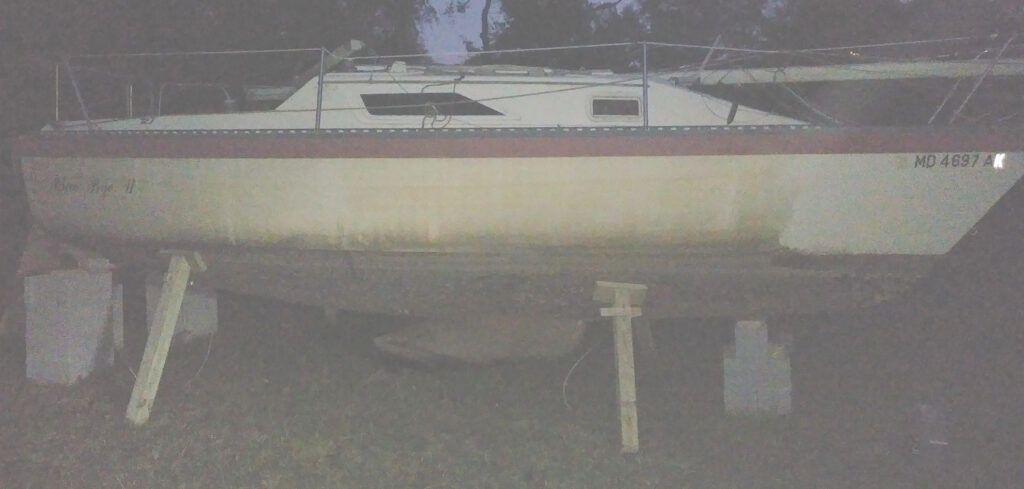
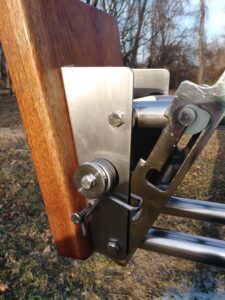
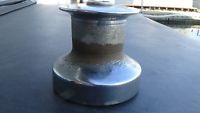
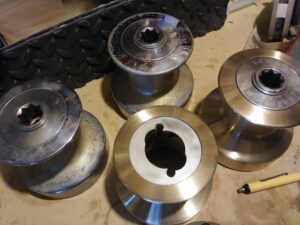
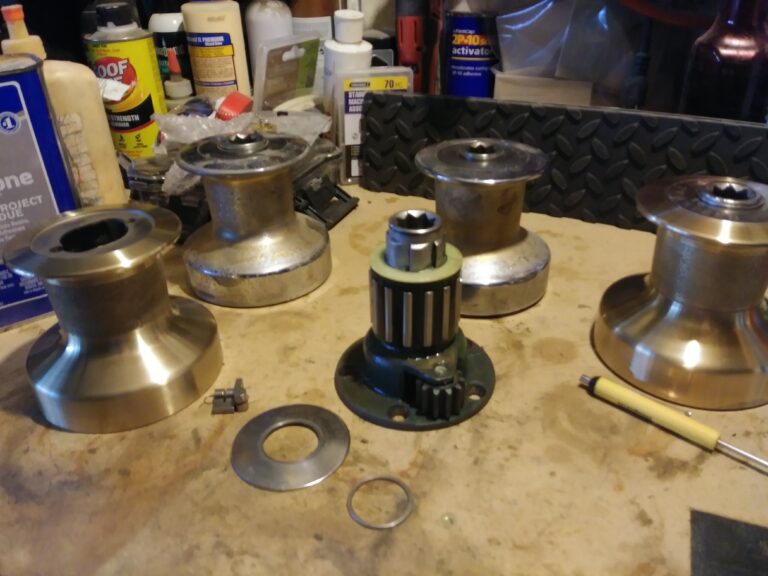
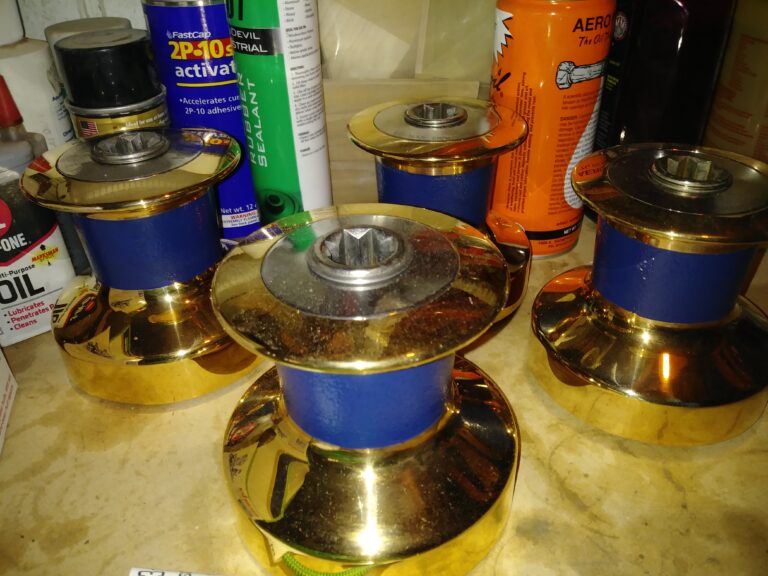
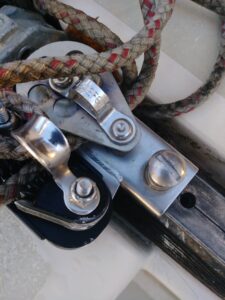
The cockpit rigging is being updated and I’ll have a number of projects concerning rigging…

worn traveller detail
Cockpit in progress

The traveler was looking a bit worn, so I pulled it, cleaned it thoroughly, and powder coated it to match the other hardware. The cars were serviced and a couple of minor modifications were done to make everything work. I replaced the rotted plywood spacers with four blocks made of Starboard, spaced to allow for drainage. The refurbished assembly can be seen in place below the companionway on the photo on the right. In addition you can see that there is now a Wheel in place. I have somewhat elaborate plans to replace / improve the existing steering, this will include adding in a custom windvane system of my own design, along with a much stronger rudder system, as compared to the original. I will also be demonstrating how to rebuild a compass in upcoming projects, so be sure to check back for much, much more on this exciting project. I’ve just begun to scratch the surface.